The Most Chocolatey Birthday Cake... EVER! Happy Birth

Sunday, 22 February 2015
I can't promise this is healthy...

Howdy! I didn't blog last week, I wanted to but I attempted to bake gluten free biscuits for my gluten free friend and it went sooooo wrong. You would've laughed! Anyone else have trouble with gluten free baking? I've attempted a few things for my friend but it never goes to plan, maybe it's just me... Oh well, back to what I'm (fairly)good at.
Happy Birthday!
Every year, we have a week in February, where three of our friends have birthdays on three consecutive days. (What are the chances?!) We're all heading out for Sunday grub today and although the desserts, at the place we are heading to, have come highly recommended, you can't have a birthday gathering without a birthday cake... enter 'The Chocolate Beast!"

I discovered this recipe through the blog What Jessica Baked Next and have had my eye on it for a while, I just needed to find an excuse to make such a chocolate dream! I found Jessica through Instagram. Her recipes are so straight forward, go and check her out. I highly recommend the Ferrero Rocher cheesecake, deeeeelicious. 

On with the bake...


You will need


For the cake...
(I used a 9 inch cake tin)

220g Plain Flour
450g Caster Sugar
2 tsp Bicarb of Soda
1 tsp Baking Powder
1 tsp Salt
85g (good quality) Cocoa Powder
2 medium eggs
250ml Buttermilk
125ml Vegetable Oil
250ml Fresh Strong Coffee

To decorate...

450g Chocolate Fudge Icing
Pack of 16 (2 finger) Kit Kat Bar's
Large sharing bag of chocolate M&M's

What to do...

1. Preheat the oven to 180 degrees C and line your cake tins with greaseproof paper and grease the sides with butter. Sift all of your dry ingredients(flour, sugar, bicarb, baking powder, salt, cocoa powder) into a large bowl. 
Mix with a wooden spoon until well combined.
2. Next, add the wet ingredients (eggs, buttermilk, oil and coffee) and mix in an electric mixer until well combined and it is a smooth mixture (no lumps)!
Mmmm, chocolate...
3. You are now going to split your mixture between the two cake tins. I ended up with around 1500ml of cake mix so I poured approximately 750ml of cake mix into each tin. Bake your cakes for around 35-40 minutes, until your cakes have risen and a knife comes out clear when gently pushed into the middle of the cake. 

Don't forget to lick the bowl ;-)

4. Allow your cakes to be completely cool before you begin to decorate. You need to spread a thin layer of the fudge icing on to the top of one of your cakes and then place the other cake on top like a sandwich. Next spread the rest of the fudge icing all around the top and sides of the cake.


5. Next, you are going to place (single) Kit Kat Bar's all around the outside edge of your cake. Then, sprinkle M&M's on top of your cake. Tie a colourful ribbon around the outside of the cake and you are done. 


I'm so excited to present this to my friends later, I think they're going to love it. It really is so simple but I think it looks super effective. A real fun cake for the kids or the grown ups in your life! I'll let you know how it goes down over on Instagram later.


Oh, and a big Happy Birthday to my wonderful friends! I hope you have a great day, love you all lots!

Amy x

Blueberry Bakewell Tarts Recipe

Sunday, 8 February 2015
Has spring sprung?

What a wonderful day! Well here in Birmingham town it feels as if it was the first day of spring. Hope it isn't just teasing us, because I've really enjoyed feeling the sun on my old bones. I even popped to the shops without "the big coat" on today, although I think I got a little carried away because I came home a little chilly. 

Anyway... The blue skies made me feel motivated to take part in my summer sport today, baking. I've never really thought about it until today but baking cakes and desserts is definitely something I do more of when the sun is shining, I wonder why that is? The bake of choice today were some Blueberry Bakewell Tarts, a recipe I found in one of the first Bake Off books. 


And I bought my first bunch of fresh flowers for the year...
I am going to try and give you a step by step guide in how to bake these sweet treats as I adapted it a little as I baked.

You will need:

To make the jam...
200g blueberries
2 tbsp caster sugar
A squeeze of lemon juice

To make the pastry...
200g of plain flour (and extra for dusting or if your dough is a bit wet to begin with)
100g unsalted butter
40g icing sugar
1 large egg (super market large is fine - xl will make your dough too wet.)

For the frangipane...
55g unsalted butter
55g caster sugar
1 large egg
40g ground almonds
15g plain flour

For decoration...
Runny icing, made from icing sugar
Fresh blueberries

1. You need to start by making some jam. This may come as a surprise to some but I have NEVER MADE JAM! (Shock horror!)But the recipe called for something very basic indeed so I thought "what could go wrong?!" 

You just pop all of the ingredients for the jam into a saucepan and let it bubble away, stirring every so often until it is thick and looses its wateriness. Push it through a sieve to loose the skin and leave the jam to set. 


Set your jam to one side to let it cool.. your boyfriend will then come in to tidy up around you, and pour the jam you just made down the sink!!!! So do that first step all over again... or is that just my bad luck?!


2. Next up is the pastry... this was less eventful. You need to put the flour and butter into a bowl and rub it, with your fingertips, until it forms breadcrumbs. Stir in the sugar, then stir the beaten egg into the mixture. You then need to stir and mould the mixture, again using your hands, until it forms a dough. At this point you may need to add (a lot) more flour. My mixture was very wet at this point and I think it was due to the size of the eggs. Just keep adding flour until it holds together and doesn't stick to your hands. 


Let the dough chill for at least 30 minutes. 

3. Role the pastry out, until it is 3mm thick and cut out circles with a 5cm cutter. Line the base of a muffin tray with the circles. Then cut strips of dough that are 1cm x 15cm long and line the edges of the muffin tray with the strips. 

You could cut the circles a little larger and a push them up against the edges of the muffin tray... Chill again for 15 minutes.
 4. At this point pre heat your oven to 170c. Next up you're going to make the frangipane. Just put all of the ingredients into an electric mix and give it a good whirl until it is all combined. 

5. Take the pastry cases out of the fridge and prick the bases. Put a small amount of jam into the bottom of the cases and then top with  the frangipane mixture. 


6. Place the muffin tray in the preheated oven and bake for 30 minutes or until the golden in colour. 

7. Allow the tarts to cool on a wire rack before decorating with runny icing a fresh blueberries. 


8. Make a cuppa and you're done...

A super simple recipe to help mark the start of Spring (I hope!) 


Enjoy x

A Japanese Style Apron Tutorial

Sunday, 1 February 2015

Japanese utility wear is a current trend right?!

Because if it isn't I'm about to start the trend myself(even if I do say so myself!!!)

I have been on the hunt for a tutorial on one of these aprons for a while now. If you follow me on Pintrest you'll see I've pinned a few pictures for inspiration over the past few months but couldn't find a tutorial for what I thought would be an easy make. 


  Both imagines found some where on Pintrest.                                       


Maybe I couldn't find a tutorial because it turns out they're so darn tootin easy to make. You probably won't need this tutorial but you've got it if you want it.. 

So this is the picture from Pintrest I used for my inspiration....


There was some suggestion of measurements with this picture but I just measured myself and made it off those measurements instead.

First of all I'm a size UK12 (34" Chest) use these measurements if you wish but it is super simple to measure yourself so I'd just do that if I were you.

Oh and fabric choices. This was the hardest part, probably because I didn't know what I wanted (just a tip; it is always best to know what you're looking for before you go fabric shopping.)I ended up with a really basic polyester/viscose in charcoal grey and at £3.99 per metre from the Fancy Silk Store in Birmingham, I was most impressed! I wanted something linen(esq) but it's so expressive so this was a perfect substitute.  
On with the tutorial... I cut my fabric 120cm by 100cm. The 120cm was the length that would wrap around my chest and the 100cm the width. 
Lazy for not cutting off the selvedges, tut!
I started off by hemming what would be the top of the apron. I folded it over by 1/2" and pressed. I then folded it over again, so that wrong sides were together, by 5". This will be the facing of the apron. You could maybe put on some interface at this point 
to make it stiffer but I didn't have any and now I have the finished product I really don't think it is necessary

I then double stitched (is that what I mean?!) along the hem. I think the parallel stitching just adds a bit of detail and denim is always stitched like this. It just looks a little more professional don't ya think?? 


Next up, you have to hem the sides. I didn't hem the bottom of the apron at this point. Like most (all) projects you leave this bit till the end so that you can sew it to the desired length.

Now on to the straps. I cut two pieces of fabric, on the fold that measure 6 cm by 55 cm. (When opened up they would measure 12cm). 


Hopefully these pictures will help with my 
description of how to cut the straps.


 And to add a little detail to the straps I just cut them into points. 

 I then made sure that my straps where folded in half lengthways with right sides together and stitched along the long sides and around the pointy ends of each strap (leave the short straight end open). When you do this bit make sure your stitching along the pointy ends is perfect, or else when you turn your straps the right side out they will look wonky and that just won't do. 


Enter wonkyness that needed to be corrected. 
Turn your straps right way out, a chopstick is my niffty tool for this, and press each strap.

Next I pinned the straps to the top of the large piece of fabric...
 I did this by marking the half way point across the top of the fabric and then estimating where the straps would need to go. I then wrapped the apron around me  as I would expect it to fit and with a bit of jiggery pokery moved the straps to where they should go. Then I stitched along one long side of the straps, around the pointy bit and then up along the other long side. 


Next up, I attached the end of the straps to the back of the apron. 

Ok, I know I'm not going to describe this next step very well so hopeful the picture above will help. You have to take one strap and pin the end to the opposite side of the back of the apron and then take the other strap and pin that end to the opposite side of the back of the apron. The straps will cross over each other, as the picture above shows. 


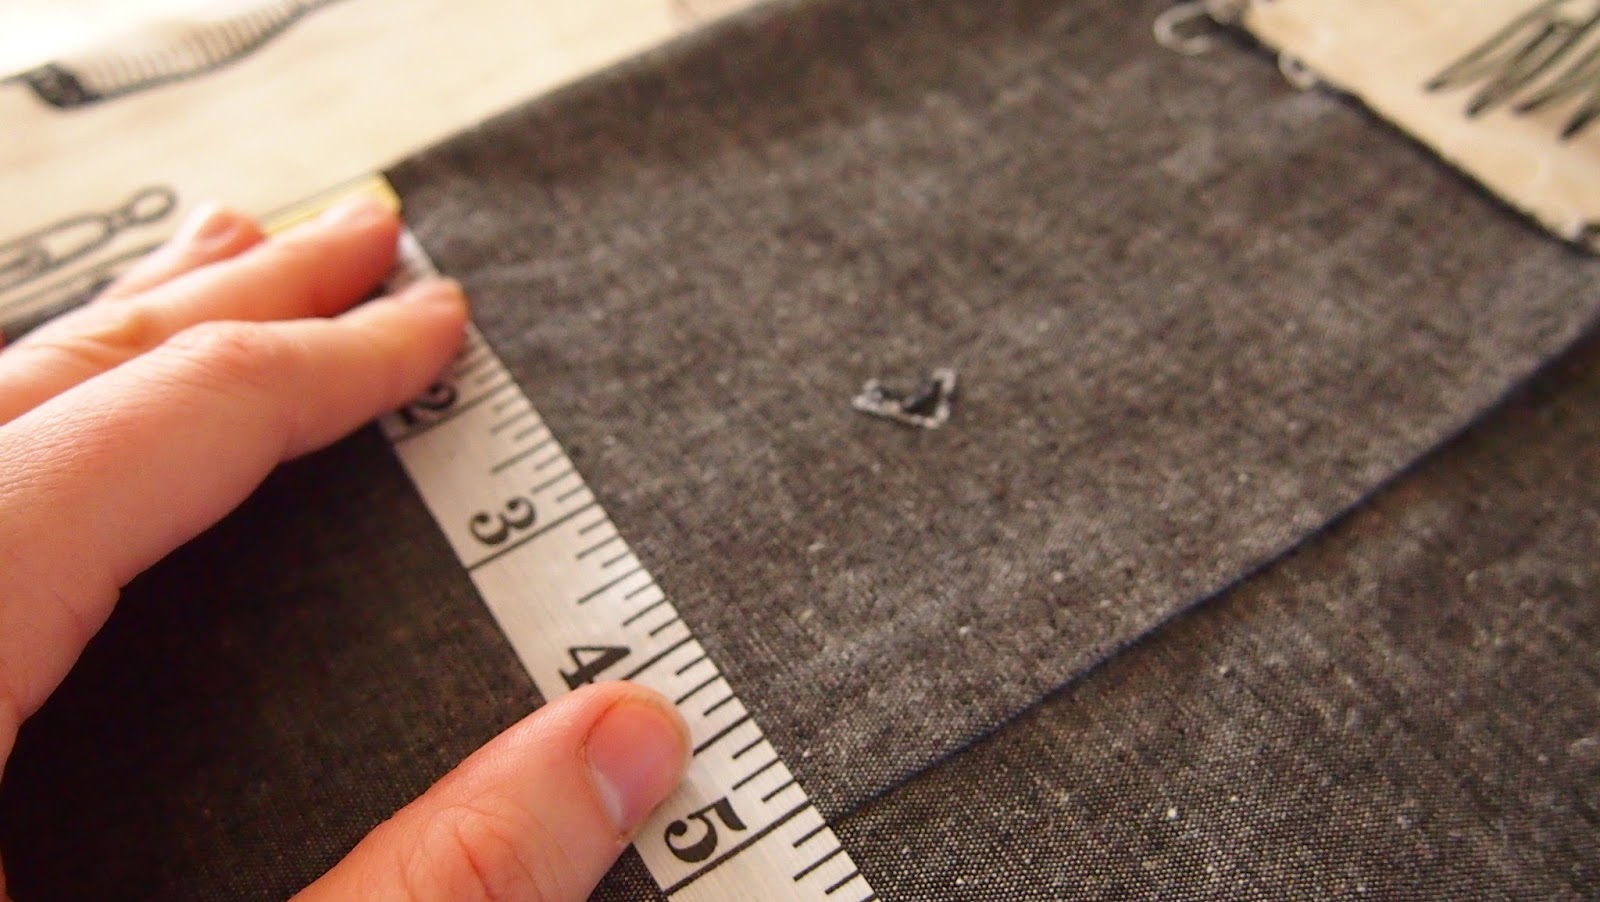
Now to stitch them in place. I decided to stitch right around the top of the apron, I felt it would look more finished. If you decide to do this then may I suggest you stop when you get to the tabs at the front of the apron. Just don't stitch across the front of the tabs, I think it looks nice and tidy the way I did it...


Next up, hemming the bottom of the apron...

I cut my apron at the bottom so that it would be 85cm long. I hemmed it by folding and pressing it up by 1/2" and then 1/2" again. I then double stitched, as I did on the facing, along the bottom of the apron.

So the main part of the apron is complete... you could leave it there but I decided to add a little (actually turned out pretty big!!) patch pocket. 

And we're done....

             
I'm so happy with this super simple make, really happy. I'm sure people will look at me in the street and think "Why is that crazy lady wearing her apron out and about?" and I'm not sure I really care all that much! Handmade Japanese Utility Wear is the next big thing, you heard it here first ;-)

Hope my first tutorial makes sense!

Enjoy,

Amy x