Japanese utility wear is a current trend right?!
Because if it isn't I'm about to start the trend myself(even if I do say so myself!!!)
I have been on the hunt for a tutorial on one of these aprons for a while now. If you follow me on Pintrest you'll see I've pinned a few pictures for inspiration over the past few months but couldn't find a tutorial for what I thought would be an easy make.
 |
Both imagines found some where on Pintrest.  |
Maybe I couldn't find a tutorial because it turns out they're so darn tootin easy to make. You probably won't need this tutorial but you've got it if you want it..
So this is the picture from Pintrest I used for my inspiration....
There was some suggestion of measurements with this picture but I just measured myself and made it off those measurements instead.
First of all I'm a size UK12 (34" Chest) use these measurements if you wish but it is super simple to measure yourself so I'd just do that if I were you.
Oh and fabric choices. This was the hardest part, probably because I didn't know what I wanted (just a tip; it is always best to know what you're looking for before you go fabric shopping.)I ended up with a really basic polyester/viscose in charcoal grey and at £3.99 per metre from the Fancy Silk Store in Birmingham, I was most impressed! I wanted something linen(esq) but it's so expressive so this was a perfect substitute.
On with the tutorial... I cut my fabric 120cm by 100cm. The 120cm was the length that would wrap around my chest and the 100cm the width.
I then made sure that my straps where folded in half lengthways with right sides together and stitched along the long sides and around the pointy ends of each strap (leave the short straight end open). When you do this bit make sure your stitching along the pointy ends is perfect, or else when you turn your straps the right side out they will look wonky and that just won't do.
 |
| Enter wonkyness that needed to be corrected. |
 |
| Next I pinned the straps to the top of the large piece of fabric... |
 |
| Next up, I attached the end of the straps to the back of the apron. |
Ok, I know I'm not going to describe this next step very well so hopeful the picture above will help. You have to take one strap and pin the end to the opposite side of the back of the apron and then take the other strap and pin that end to the opposite side of the back of the apron. The straps will cross over each other, as the picture above shows.

 Now to stitch them in place. I decided to stitch right around the top of the apron, I felt it would look more finished. If you decide to do this then may I suggest you stop when you get to the tabs at the front of the apron. Just don't stitch across the front of the tabs, I think it looks nice and tidy the way I did it...
Next up, hemming the bottom of the apron...
I cut my apron at the bottom so that it would be 85cm long. I hemmed it by folding and pressing it up by 1/2" and then 1/2" again. I then double stitched, as I did on the facing, along the bottom of the apron.
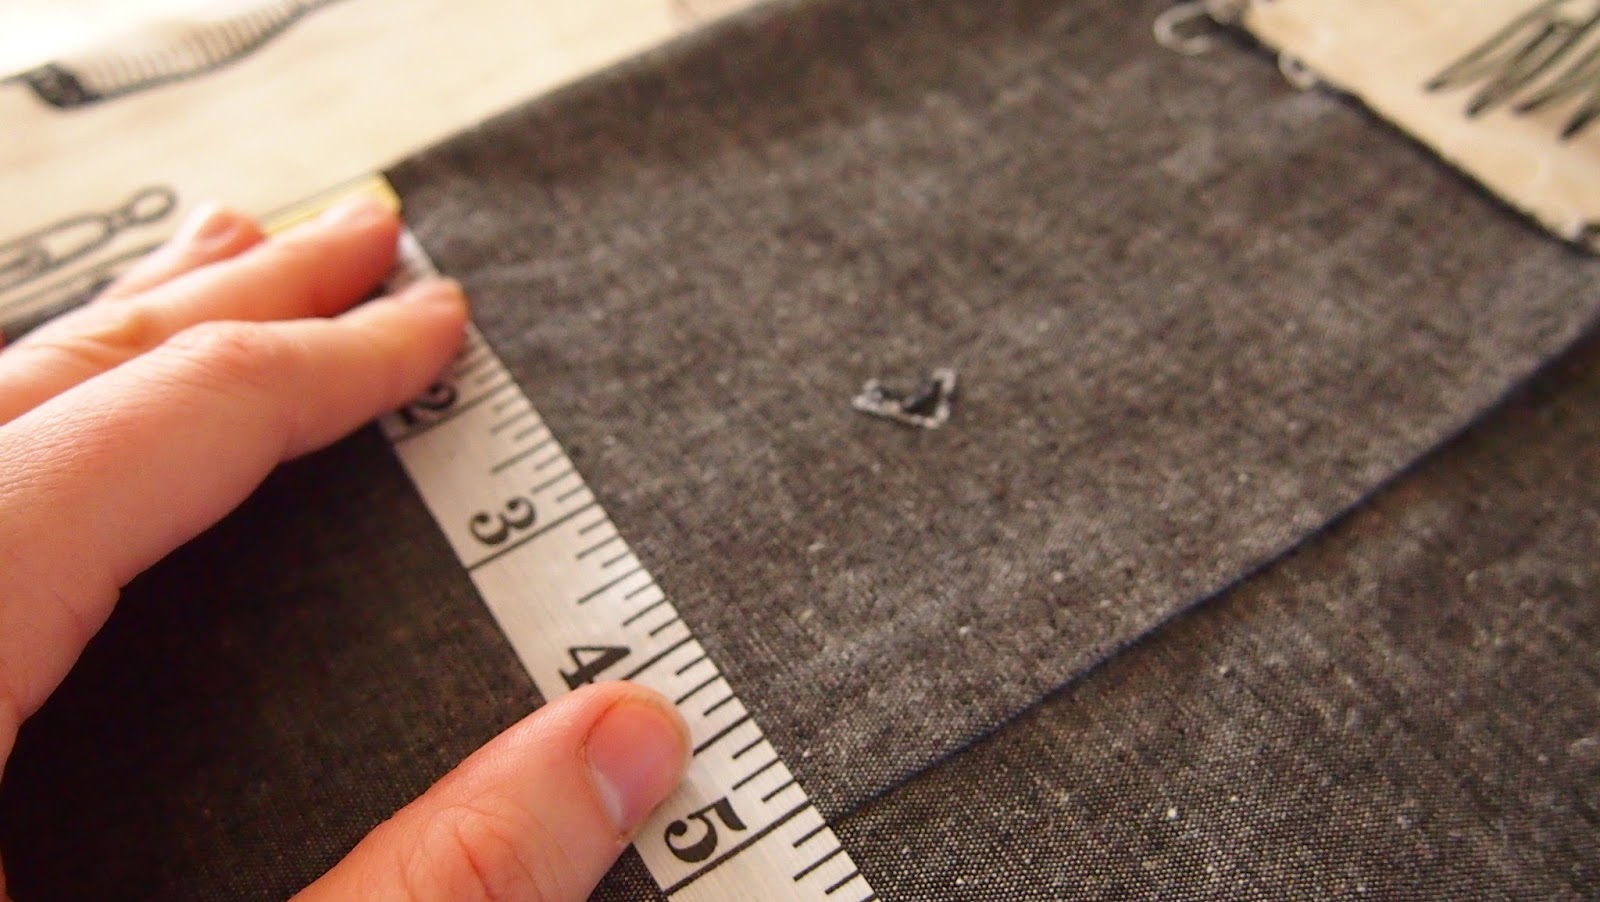
So the main part of the apron is complete... you could leave it there but I decided to add a little (actually turned out pretty big!!) patch pocket.
And we're done....


I'm so happy with this super simple make, really happy. I'm sure people will look at me in the street and think "Why is that crazy lady wearing her apron out and about?" and I'm not sure I really care all that much! Handmade Japanese Utility Wear is the next big thing, you heard it here first ;-)
Hope my first tutorial makes sense!
Enjoy,
Amy x


.jpg)


